Upgrade to Yosemite painlessly

 If you’re a Mac user, you probably get excited every time Apple has an event to announce something new. Recently, the company has offered up a free download of their latest operating system OS X Yosemite.
This guide will help you easily upgrade to Yosemite on your MacBook, Mac Pro or any other Mac computer you may be running. Historically, it’s always been smart to wait several months until the kinks in an operating system are all worked out. While I believe in this approach, I went ahead and updated my MacBook as a test. With the inclusion of a welcome screen that tells you which programs are not compatible, the new OS X seems very stable and free of common errors. So you should be good to upgrade. But I always recommend making a backup of your files using Time Machine prior to upgrading any operating system.
All you need for this upgrade is the free version of the OS X and about 1-2 hours.
How to easily upgrade to Yosemite (with pictures!)
1. Be sure to back up your files before you upgrade to Yosemite. (Most likely nothing will happen, it’s just good practice).
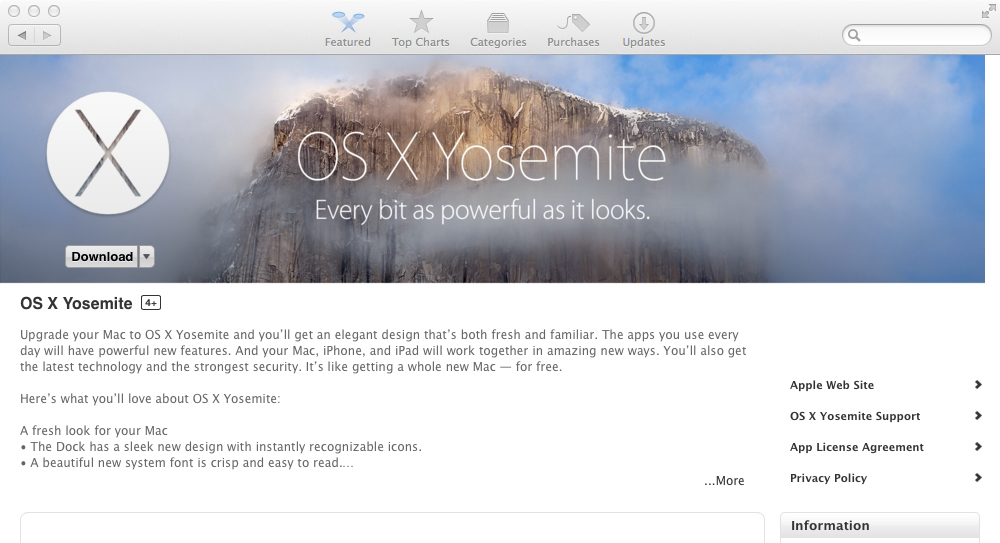
2. Click on this link to open the free download and click View App in Mac Store button. Click Download.
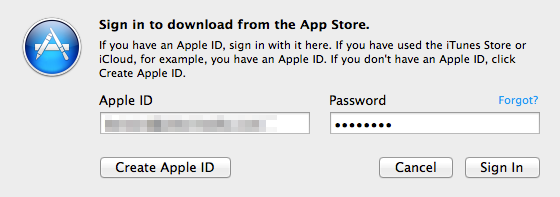
3. You’ll need to enter in your login and password for Apple ID.
4. This process will automatically start downloading the new OS to your Applications folder. When it’s done you can start the process of upgrading when you see this screen.
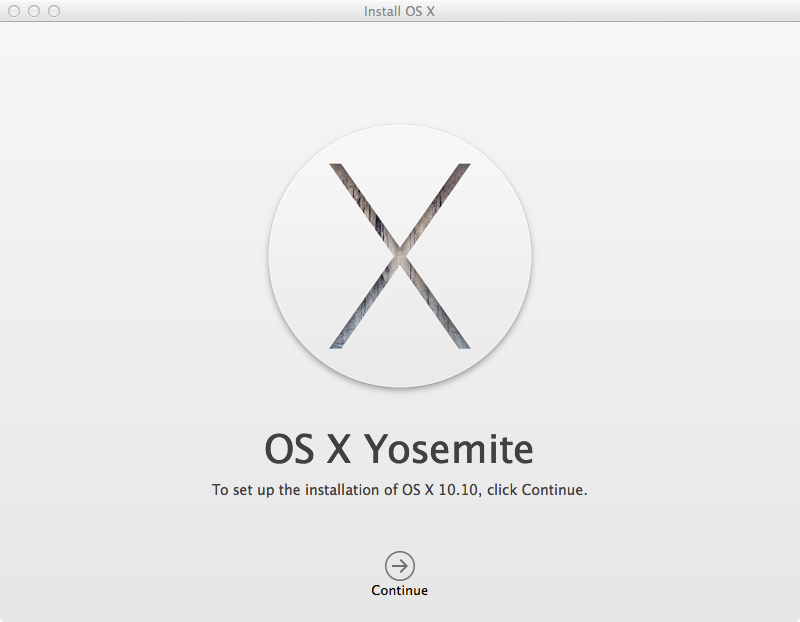
5. Once you start installing, expect about 20-40 minutes of waiting before you can upgrade to Yosemite. This is a good time to go do something else and let the process run its course. This first screen will happen rather quickly (it takes much longer than a minute or two!) You’ll see the computer restart and then it’ll take the bulk of time to install as it restarts.
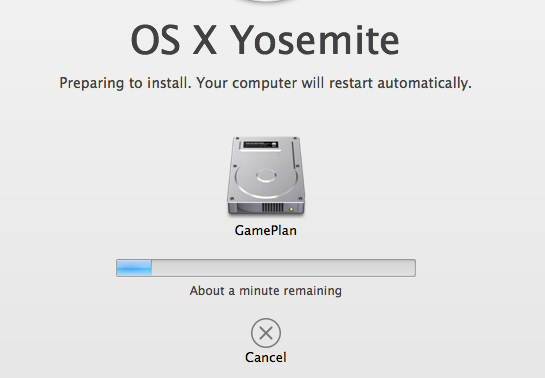
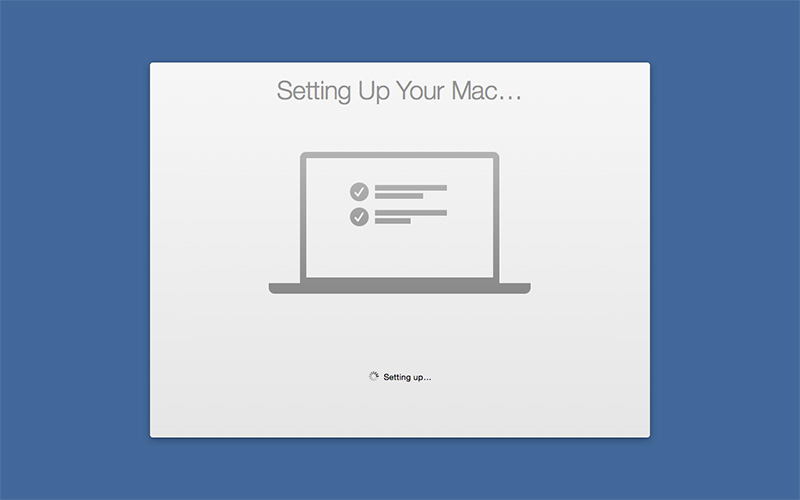
Once your computer automatically restarts, you’ll notice that the longest wait will be on this screen below before your upgrade to Yosemite is complete. Again, a great time to take a break and come back when it’s finished. It took about 40 minutes for my version to install.

6. After a nice break, you’ll come back to see your computer on the login screen and it will look slightly different. Everything is good to go! Log into your computer and go through a few screens to approve your password keychain and you’ll also notice a very handy screen that tells you about incompatible software. Once logged in, you’ll notice the new flat icon set and some added features of the new OS X Yosemite.
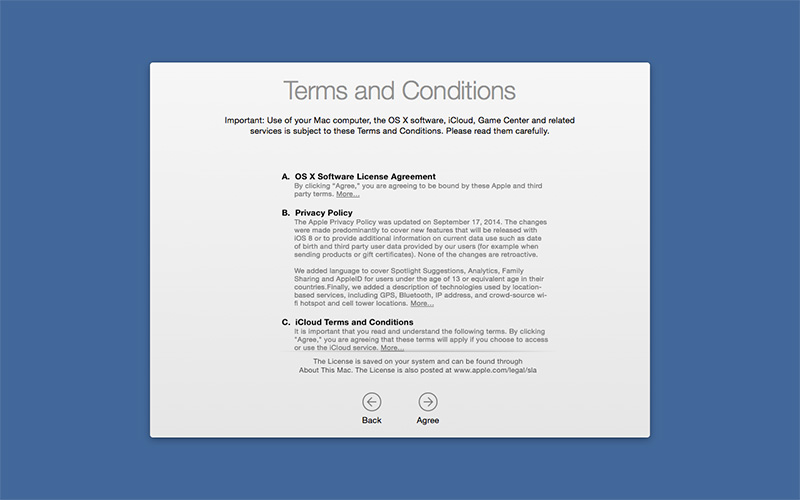
You’ll want to Agree to the Terms and Conditions.
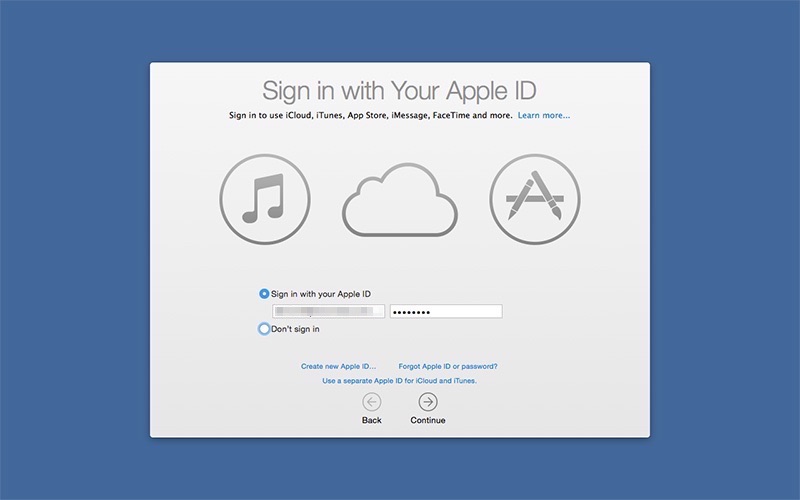
You’ll need to sign into your Apple ID with your login and password. If you’ve forgotten your password, you can click Forgot Apple ID and Password and follow the prompts to change your password.
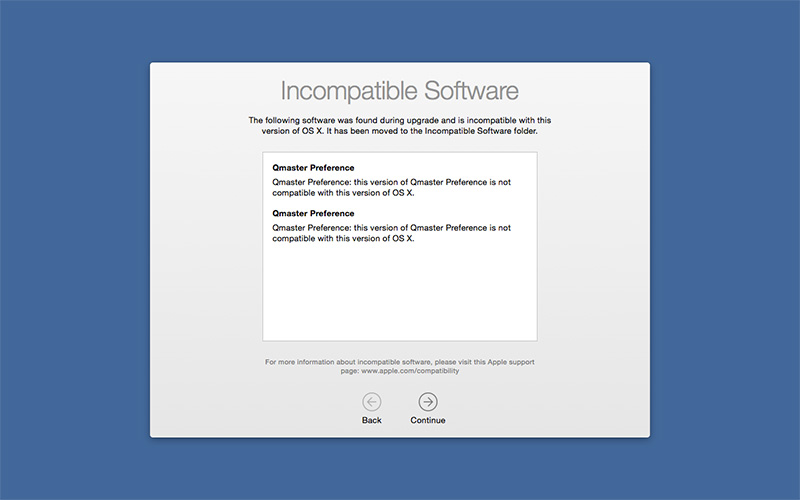
This is a helpful screen so you’re not presented with any ‘surprises’ after you’ve upgraded to OS X Yosemite. You may need to update some programs that aren’t compatible.
You’re all done with your upgrade to Yosemite!
Congratulations. You have now completed your upgrade to Yosemite. Let us know how you did in the comments below. Also, lets us know of any questions you may have. Enjoy Yosemite!