Install Nest: The Learning Thermostat
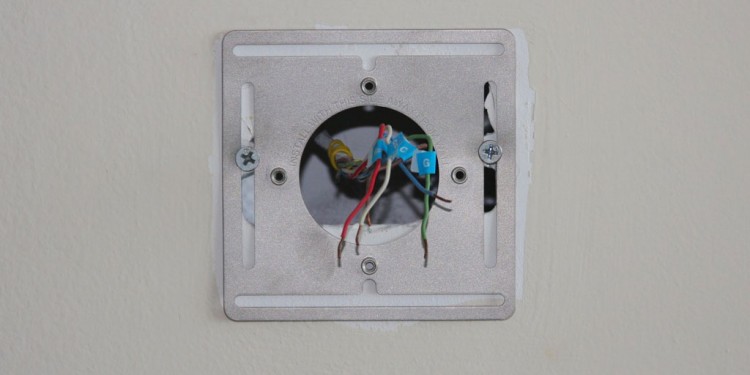
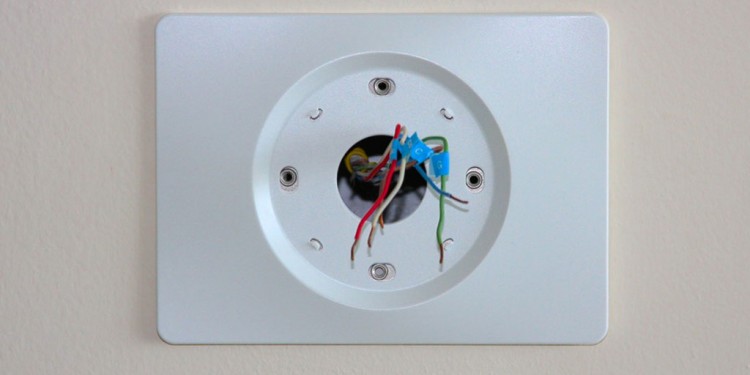
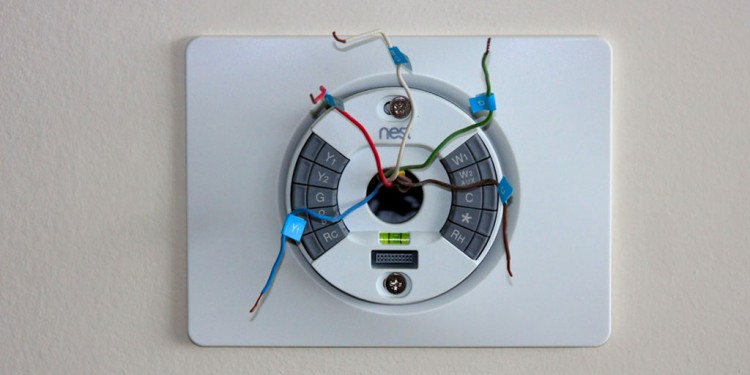
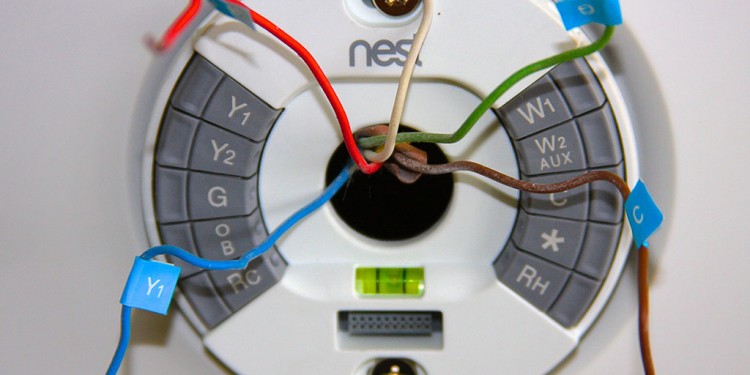
How to install Nest Learning Thermostat
So you’re looking to save some money on your electrical bill, eh?
The Nest Learning Thermostat may be for you. It claims to ‘learn’ your heating and cooling habits and adjust them ever-so-slightly in the favor of not wasting electricity when you’re not around, thus saving you some cash.
If you can change a lightbulb, you can install Nest yourself.
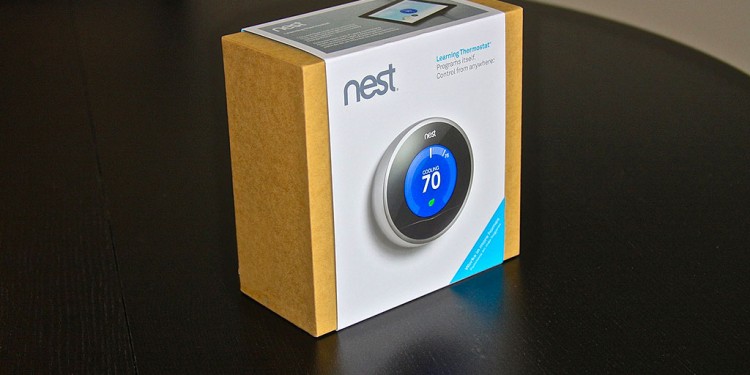
We tried our hand at it a few months back and found it to be very easy to install. We’re also starting to see its performance now that we’ve had some time to let it work. We’ll have a review on the Nest Learning Thermostat performance soon. But first, lets talk about installation.
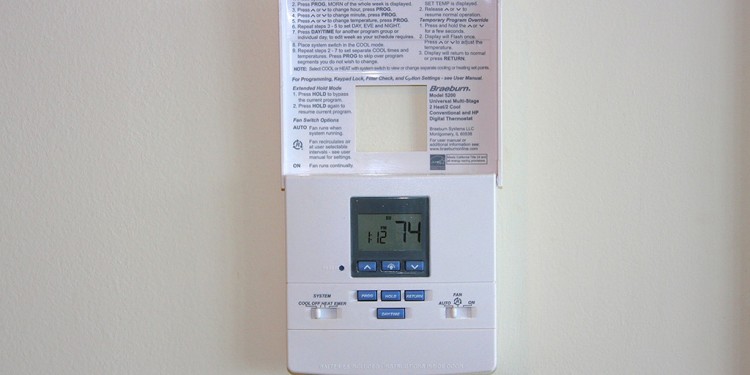
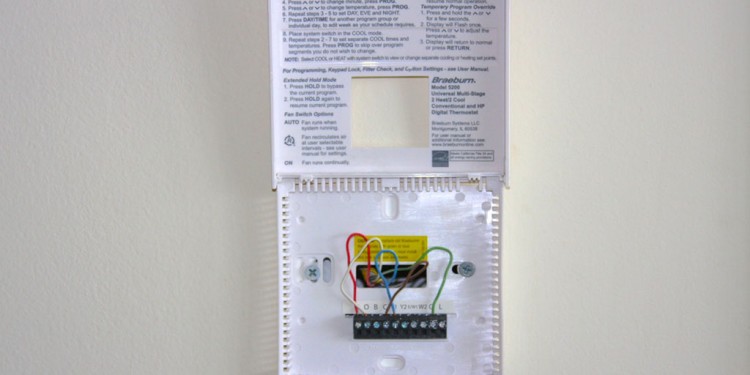
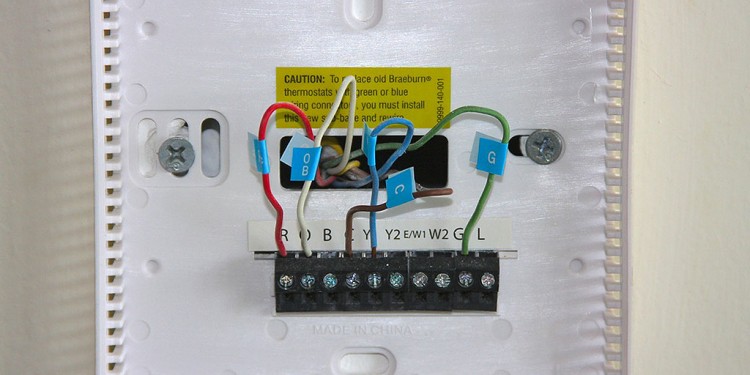
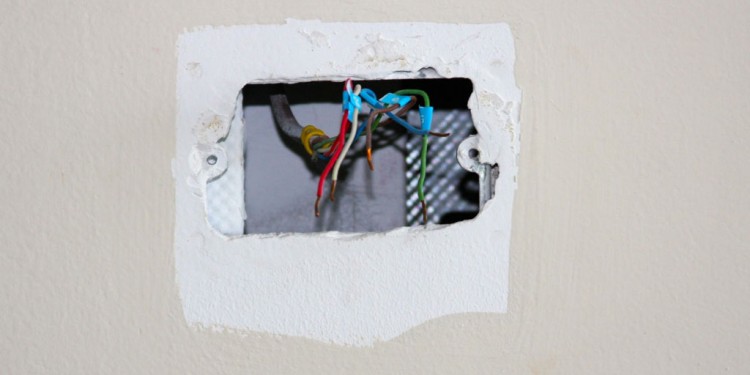
Step-by-step slideshow on how to install the Nest thermostat
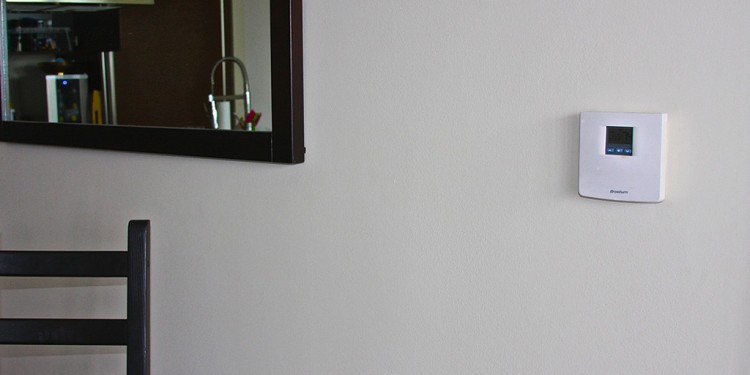
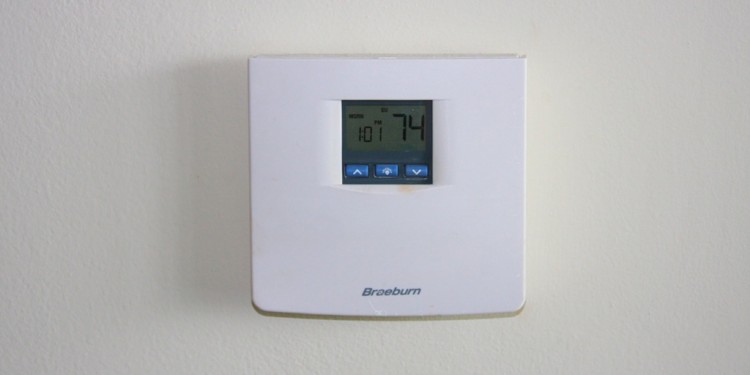
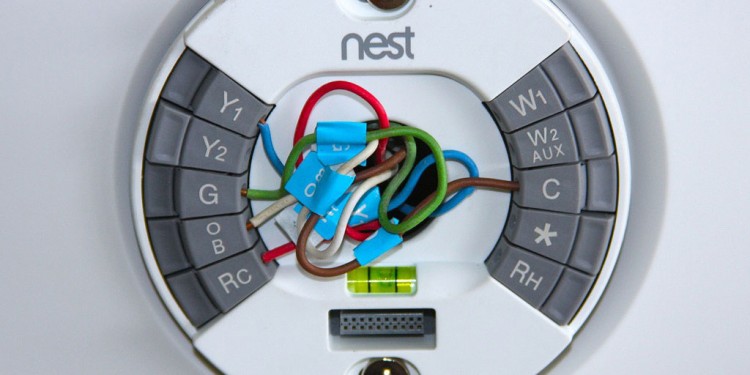
Please view the slideshow above for step-by-step instructions on installing the Nest. We managed to remove our old thermostat and install Nest in about 3o minutes without any trouble. You will need some time after the installation to set up and customize your heating and cooling settings. That’s the fun part.
The most important step to installing the Nest is to shut your power off to your AC unit before starting. You will be working with low-voltage wires, so its’ important to be safe. Low voltage wires are the same that run your sprinklers and your doorbel.
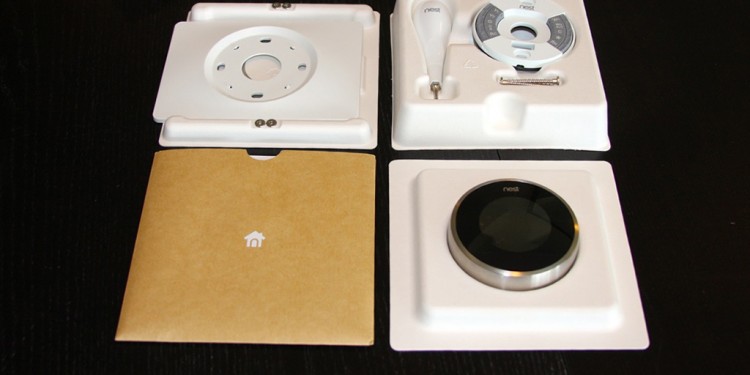
Refer to the Nest installation booklet that comes in the box for step by step instructions and troubleshooting tips.
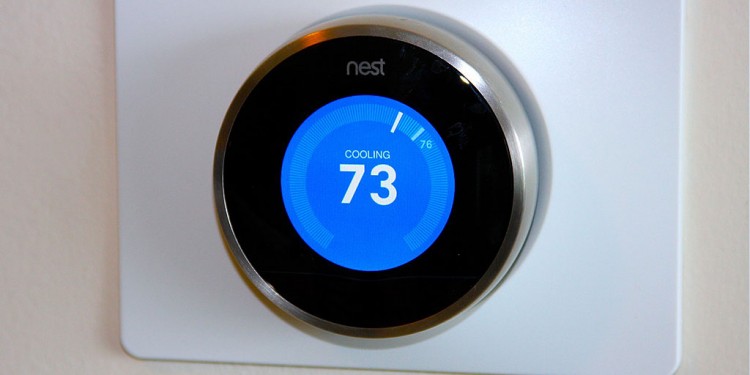
We chose to use the mounting plate. It’s not nearly as sleek as the Nest display alone, but we were opting for quick-installation and didn’t mind the look of the base. You can patch any holes you have, paint the wall and install just the display for a sleeker look.

